Breadboards 101 - what do you need to know?
May 3, 2019 • tutorial
Breadboards are incredibly useful for beginners in electronics. They are affordable, versatile, and re-usable. Nevertheless, there are a few key points to keep in mind when using them. In this tutorial we will go through the basic properties of breadboards.
What kinds of breadboards are there?
There are three very common types available, and they are usually referred to by the number of holes they have. Here you can see a comparison of these three types side-by-side:
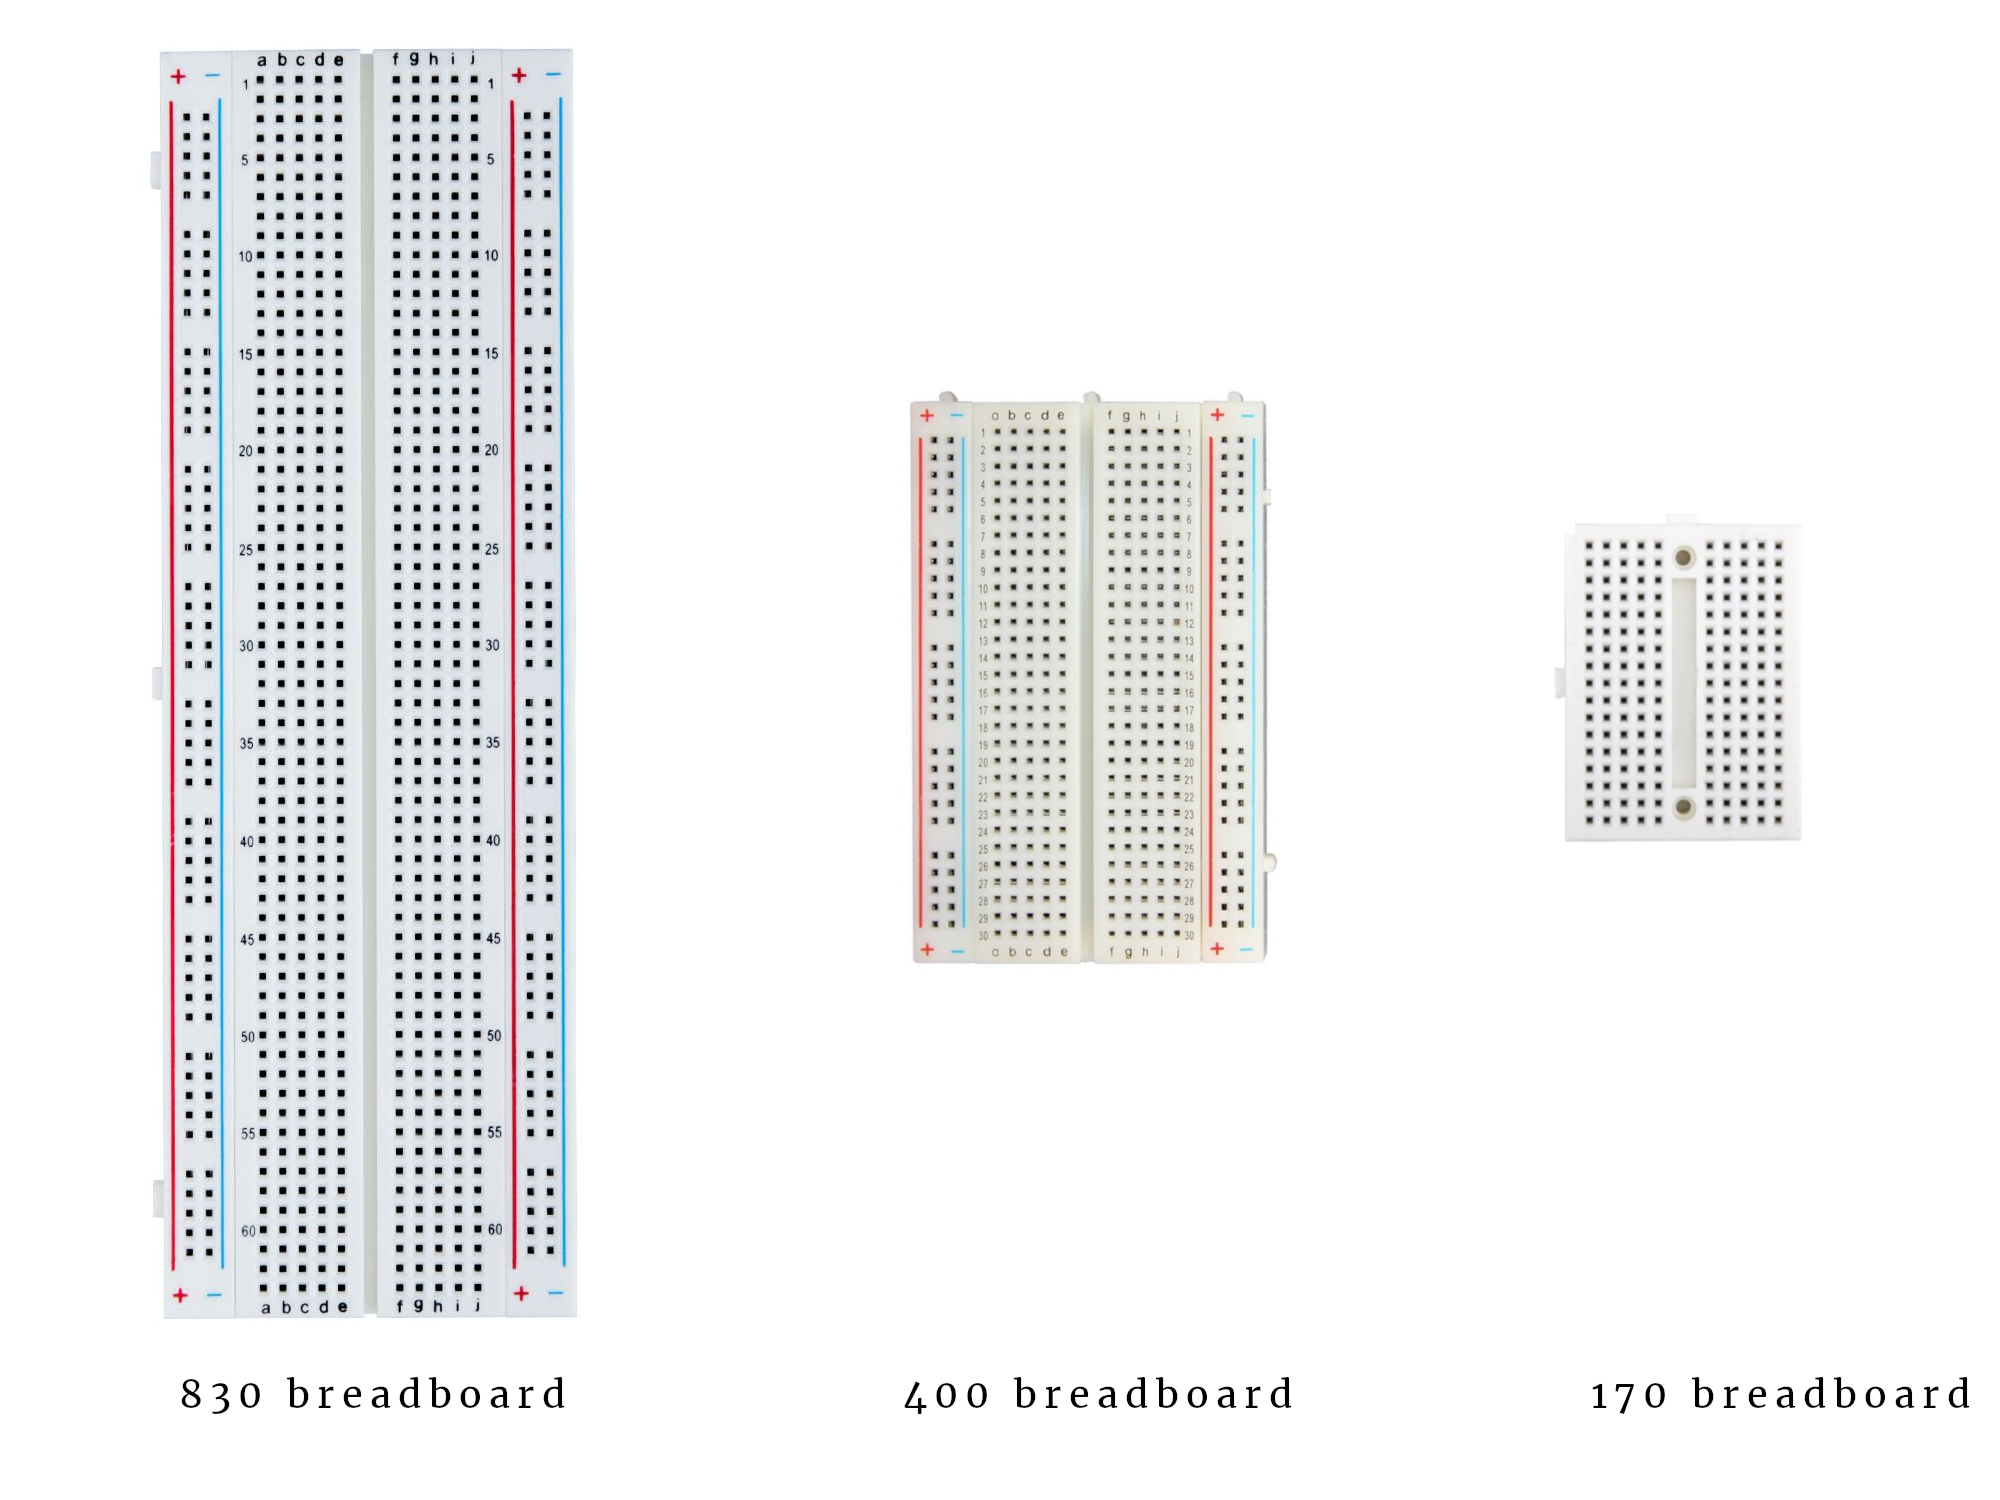 Three common sizes for breadboards.
You can plug a cable or component in each of the holes, and they will get clamped in by a tiny metal clamp that is positioned under each hole. There are also transparent breadboards where you can even see these metal clamps. Here is a picture that visualizes this concept:
![]()
OK, great, now your component is plugged in. What is it electrically connected to now? The answer: it depends! You see, a breadboard comes with rows and columns:
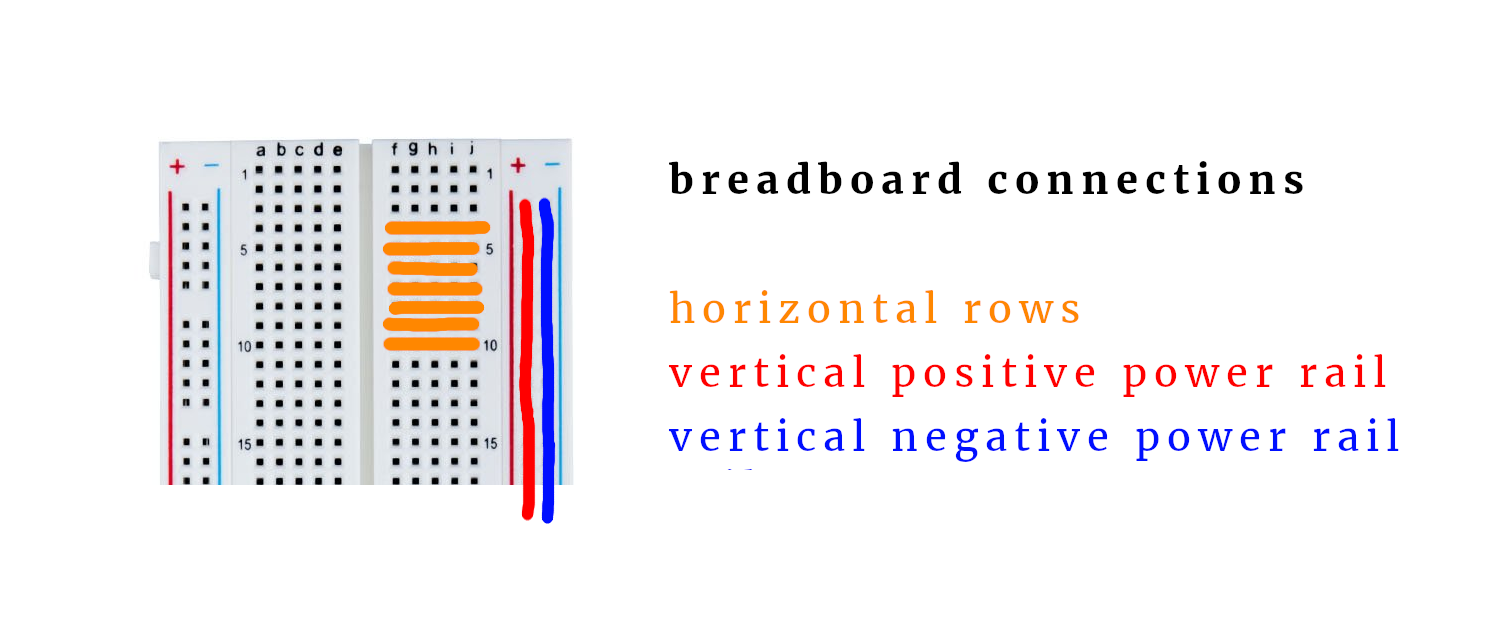
The columns (red and blue in the above picture) are the two rails on either side of the breadboard (and yes, there are no rails for the small 170-pin breadboard). All pins in one column are connected, which is why they are usually used for the supply voltage. That is why sometimes they are also called rail instead.
The rows, on the other hand (orange in the above picture), are connected horizontally.
Each point on the middle part of the breadboard (except for the rails) has a unique coordinate. The columns are labeled from a through j, and the rows are labeled from 1 to 30 on a 400-pin breadboard, and from 1 to 63 on a 830-pin breadboard. You get the idea.
Lastly, there are also other more unusual types of breadboards out there, like this one:

You see that this breadboard is large enough for more complicated circuits, and there are a total of five power rails, one of them being horizontal. Also, there are power connectors on top, and one would have to check the manual of the breadboard to see how they are connected to the power rails. Those types of breadboards can be very useful for larger projects.
The gap
There is a quite prominent gap in the middle of almost all breadboards.
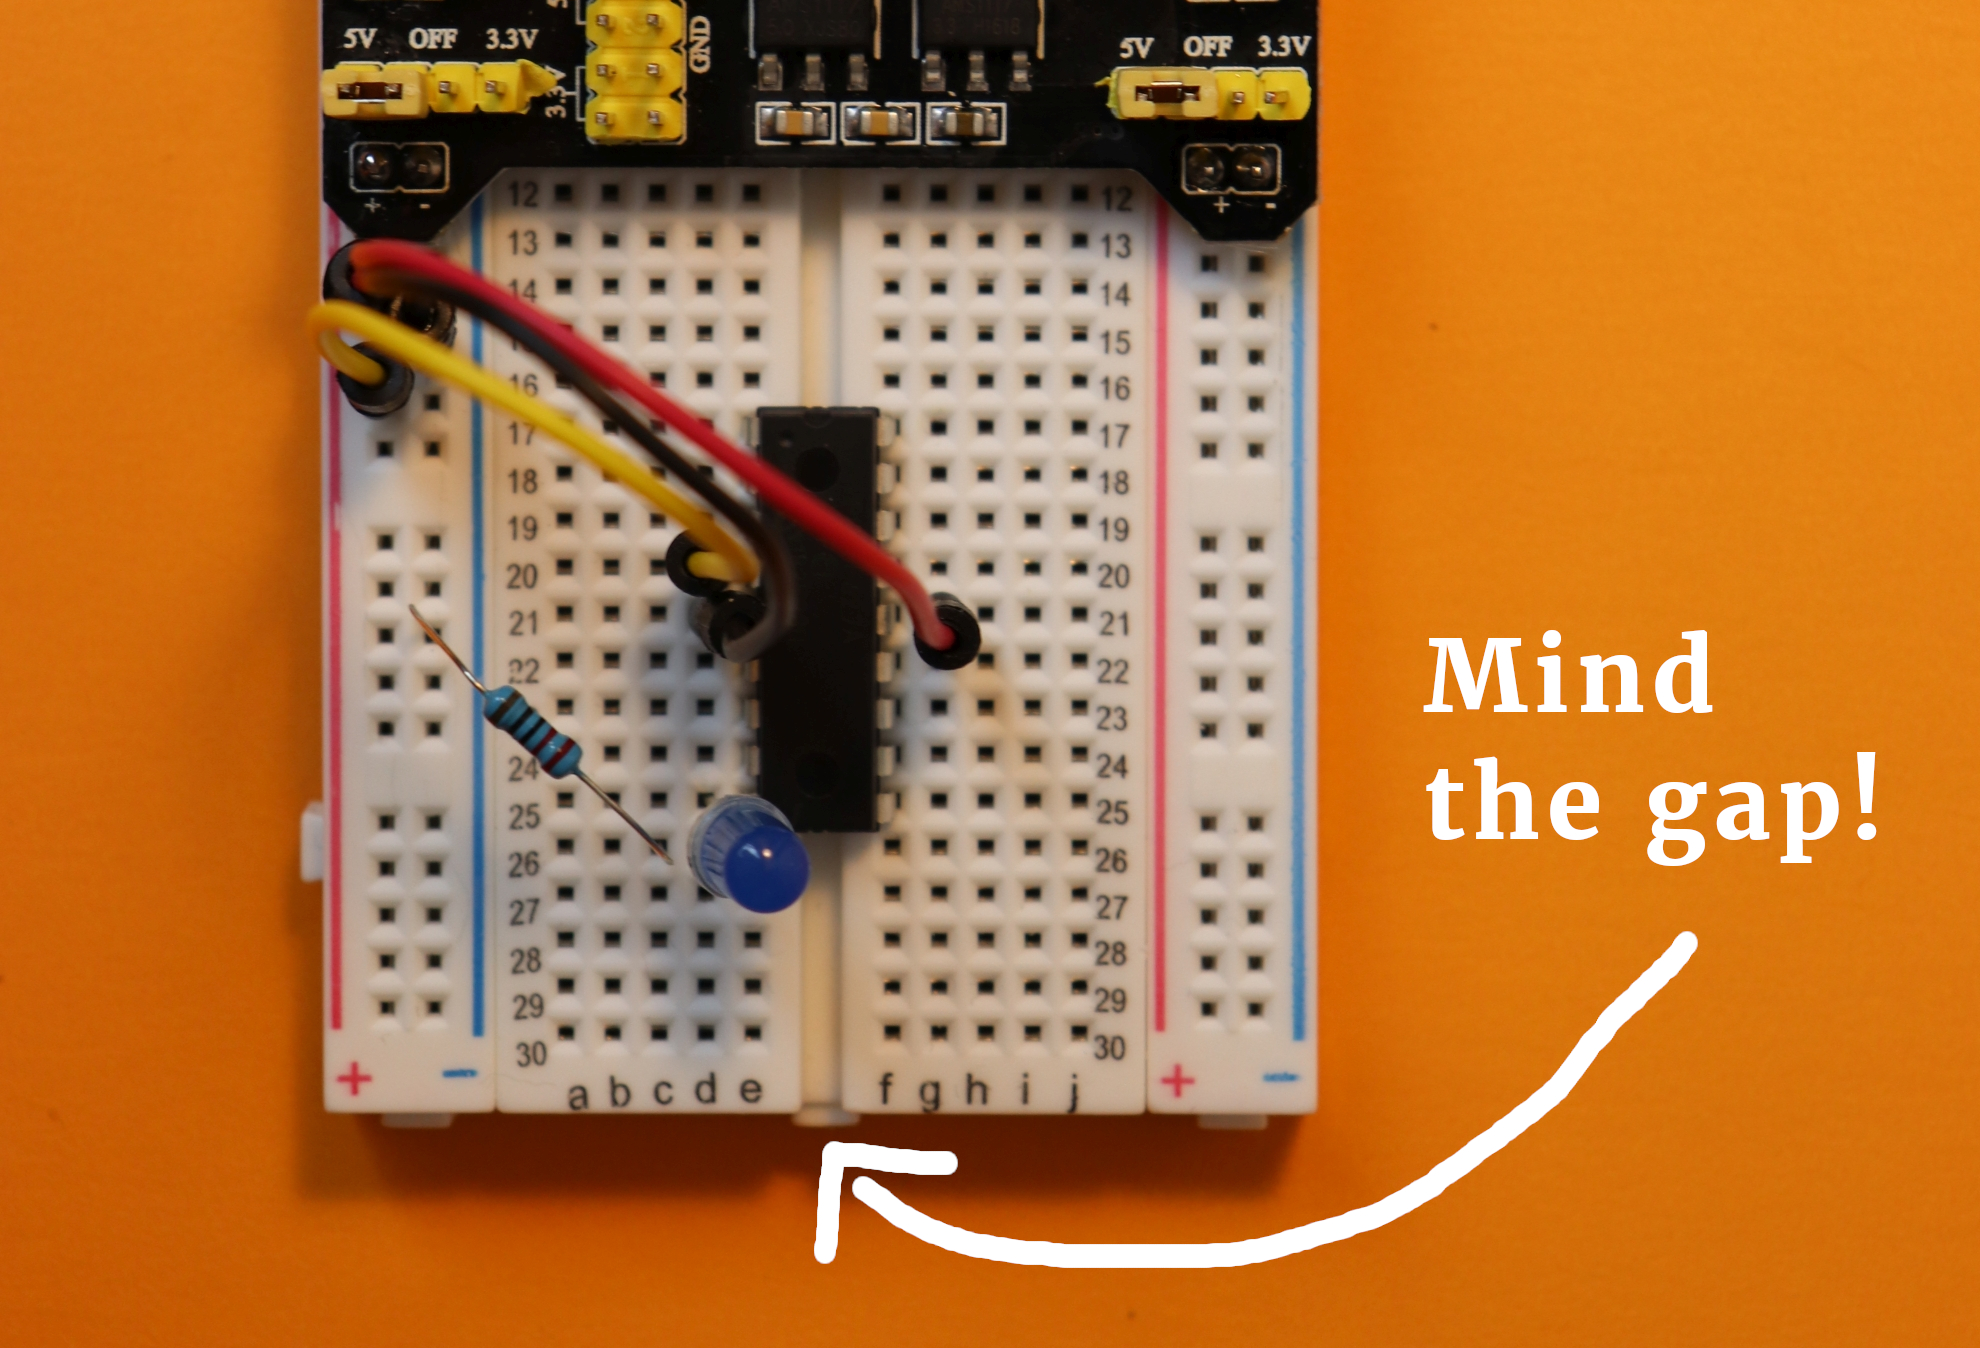
This is so that simple Integrated Circuits (or ICs for short) with a dual-in-line socket can be placed there conveniently. We have done this in our blink-LED tutorial as well.
What wires work well with breadboards?
The holes of standard breadboards have a certain diameter, so they certainly do not work with all kinds of wires. American Wire Gauge 22 (AWG 22) wires have a diameter of 0.0254" (or 0.65mm) and work very well. Make sure that you use only solid, single-strand wire. Avoid stranded wire because it will be more difficult to get it in. If you have to use stranded wire (which does happen with battery packs from time to time, see below) it helps to twist the ends to make the wire more rigid.
You can of course purchase a spool of single-stranded AWG22 wire and use it as you see fit. However, there are a few aftermarket solutions available that might be worth looking into. I will list three of them here:
Choice 1: Jumper wires
Jumper wires are flexible wires, usually color-coded, with dedicated contact terminals at both ends. They come in different lengths as well. Typically a set of these wires costs around $10 and can be worth the investment (it would be more expensive to buy seven spools of different color wire).

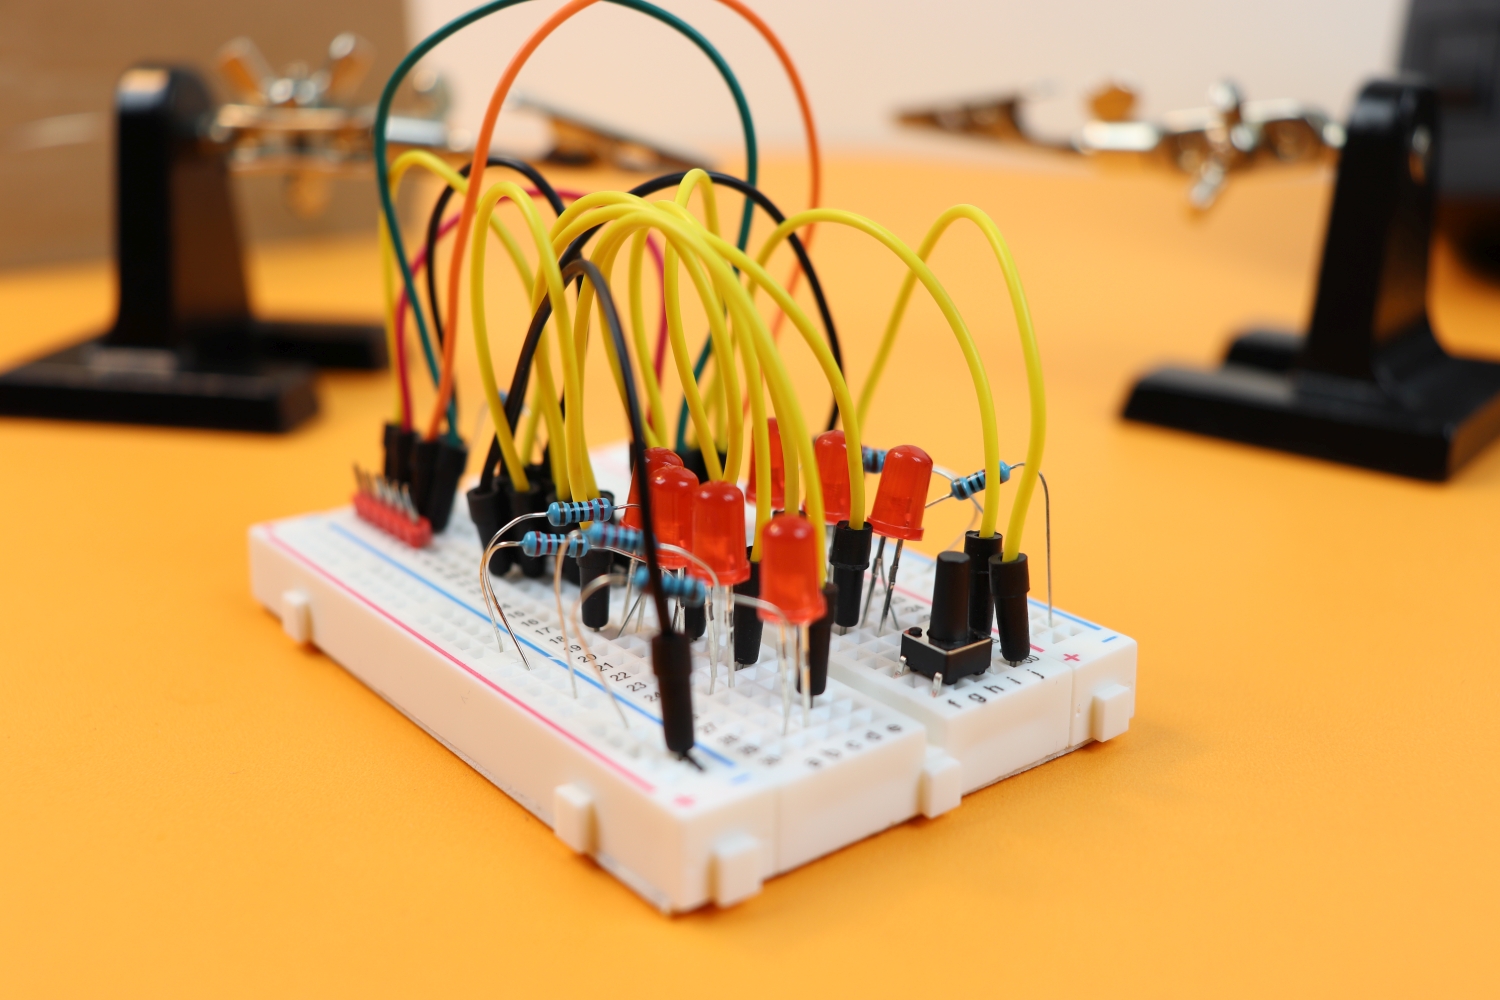
The disadvantage is obvious: the wires are a bit short, but even that can still be too long. Here is a photo of a circuit I built that became quite chaotic:
Choice 2: Pre-bent wires
This is where pre-bent wires can come in handy. They are typically offered in sets like these:
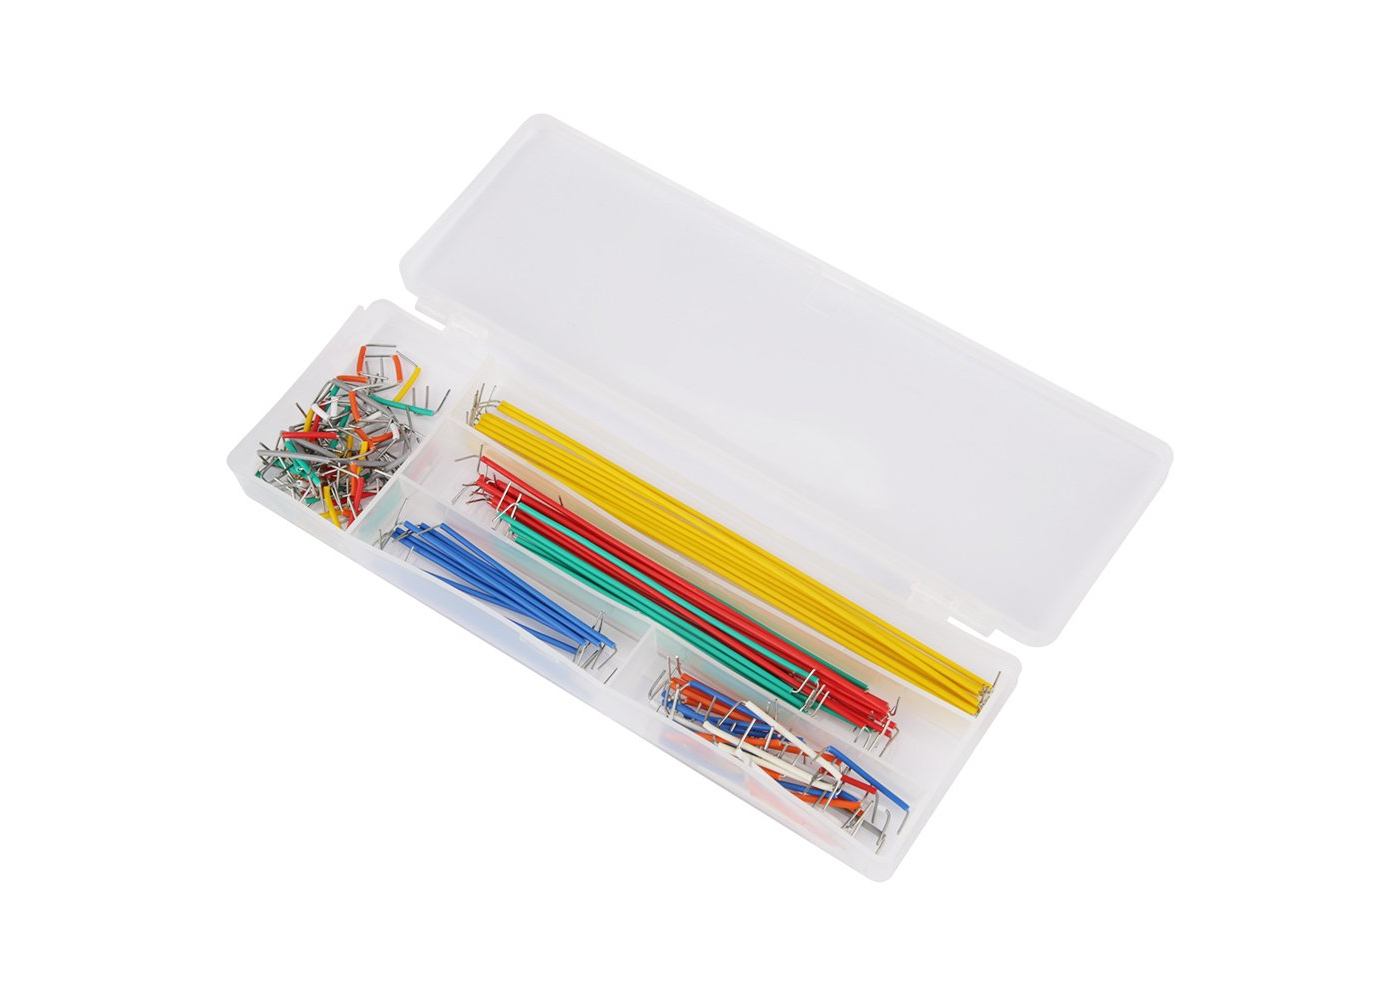
It costs around $15 and I personally think that is a ripoff, since (unlike the jumper wires with special electric terminals on both ends) these are just ordinary wires that are bent into a certain shape.
I do not recommend purchasing these as a set, unless you have no wire stripper or comparable tool at home. They are quite useful because your circuit will remain relatively flat.
Choice 3: Dupont-type wires
Lastly I want to mention Dupont-type wires. Dupont is a company that manufactures these wires, and I find that using this term makes me find them most easily in online stores, even if they turn out to be manufactured by different companies. Here you can see them:
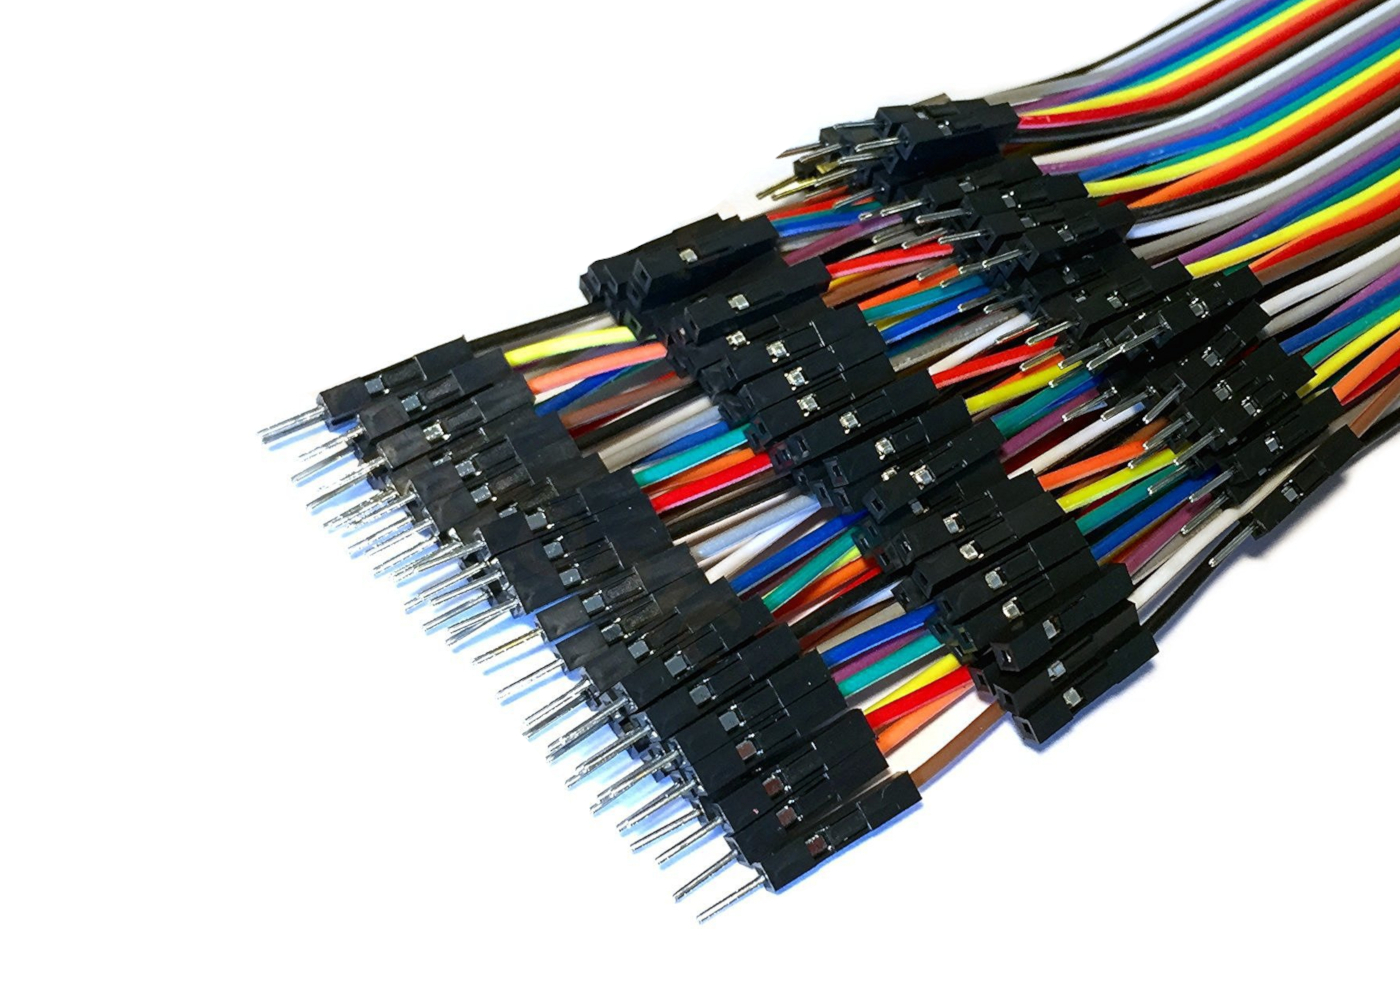
As you can see, Dupont wires exist in male-male, male-female, and female-female configurations. It makes them the most versatile of all wires, since you can use them to connect your breadboard circuit to external components that do not fit on the breadboard itself. For that reason they are extremely useful.
The breadboard connection can be a bit iffy from time to time, though. I feel that the diameter of the wire pins at the end of a male Dupont-type wire is rather thin, so the electrical connection can be a bit unreliable at times.
How do I power a breadboard?
Even though this is not primarily a breadboard question, I thought I would mention it. The greatest and most sophisticated electronics on a breadboard don't do anything unless you power them up.
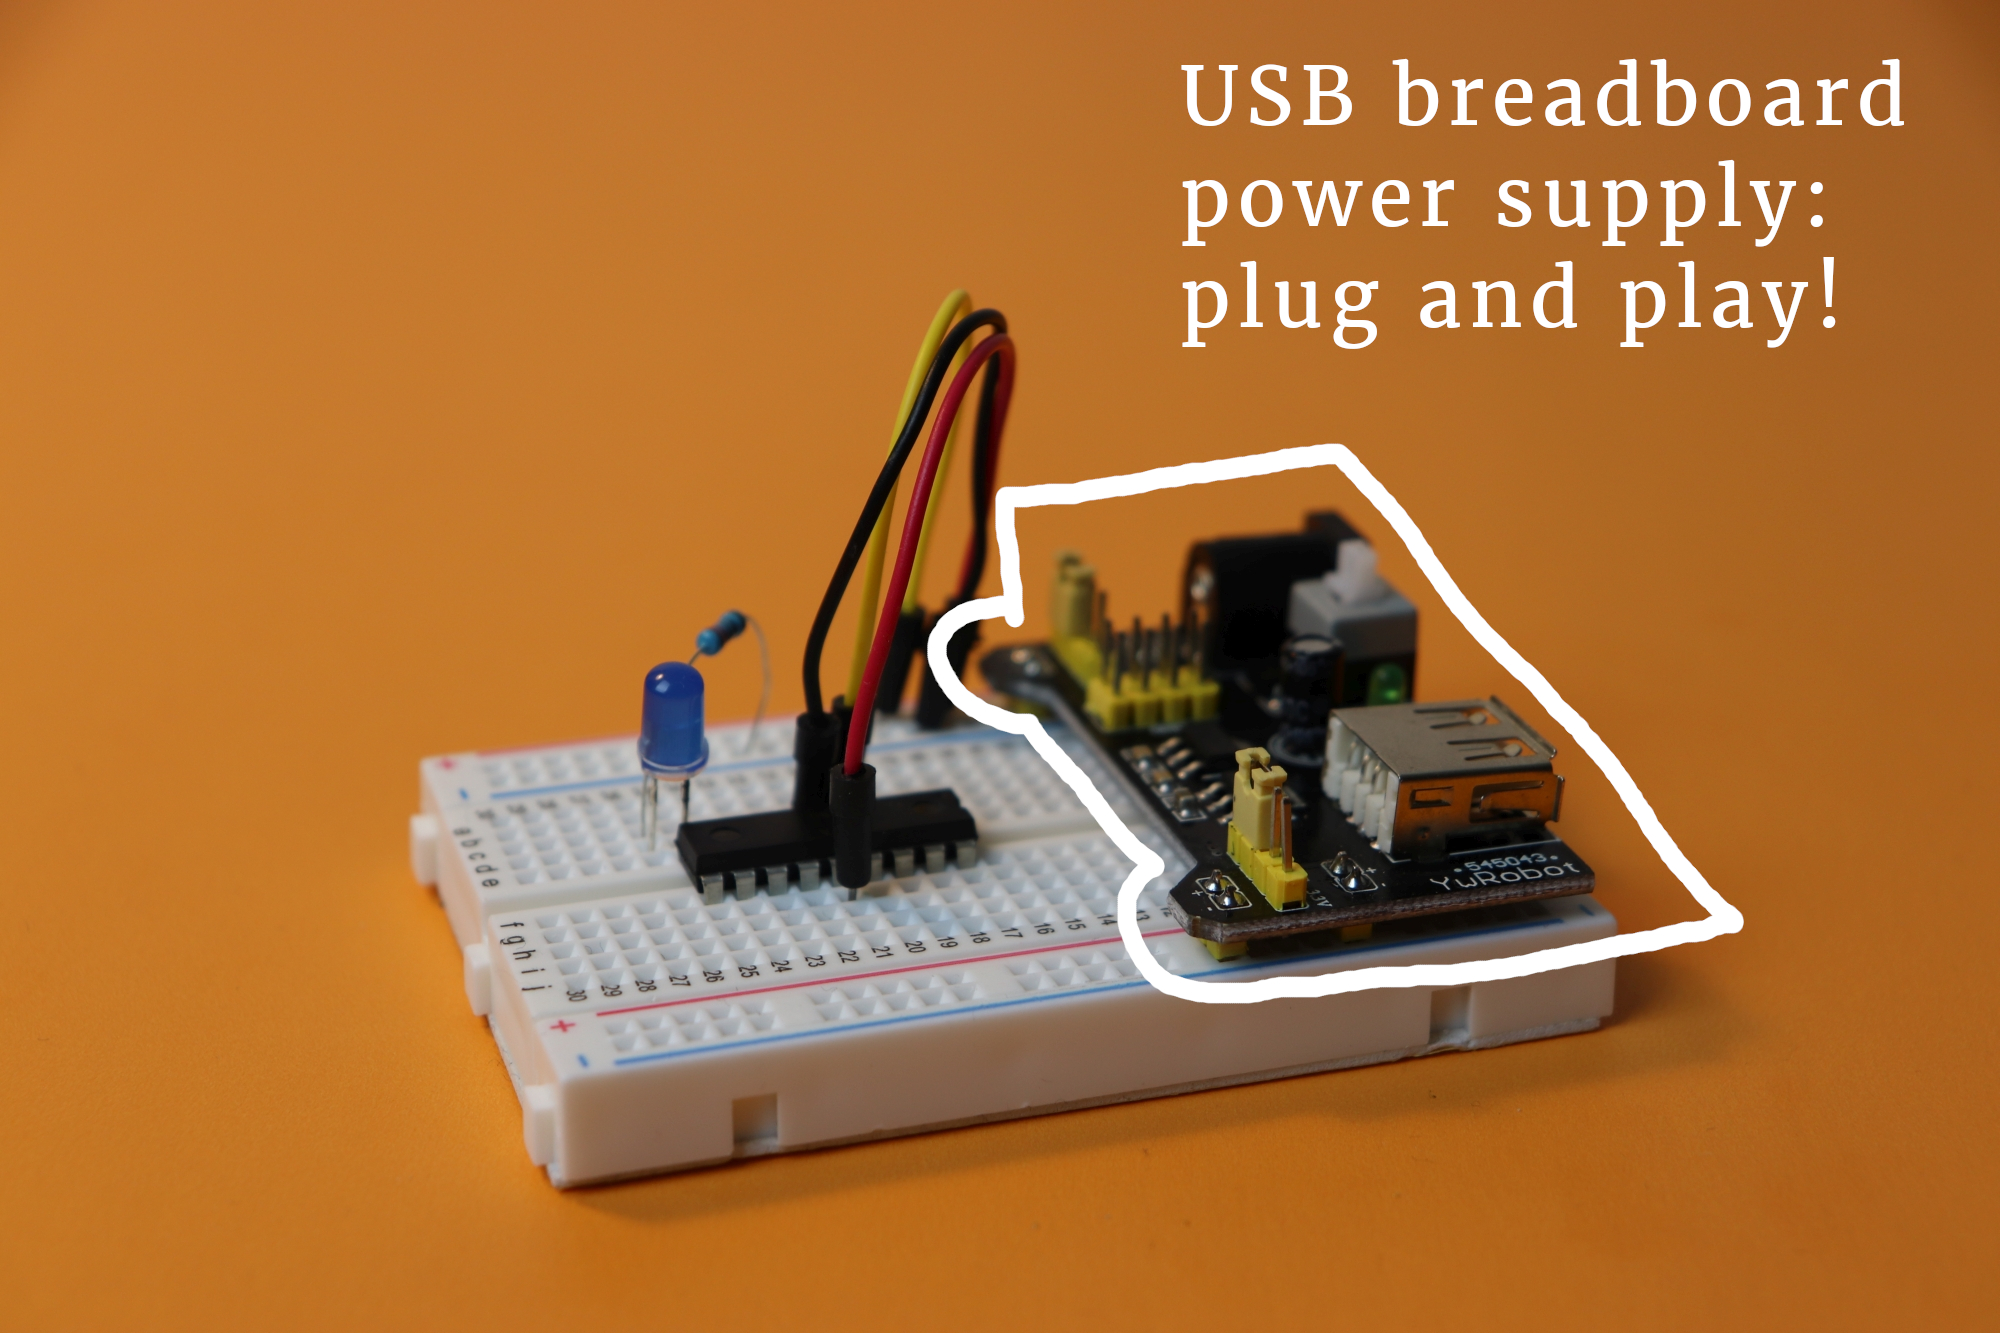
There are two options. The first one amounts to using a USB breadboard power supply like this one right here:
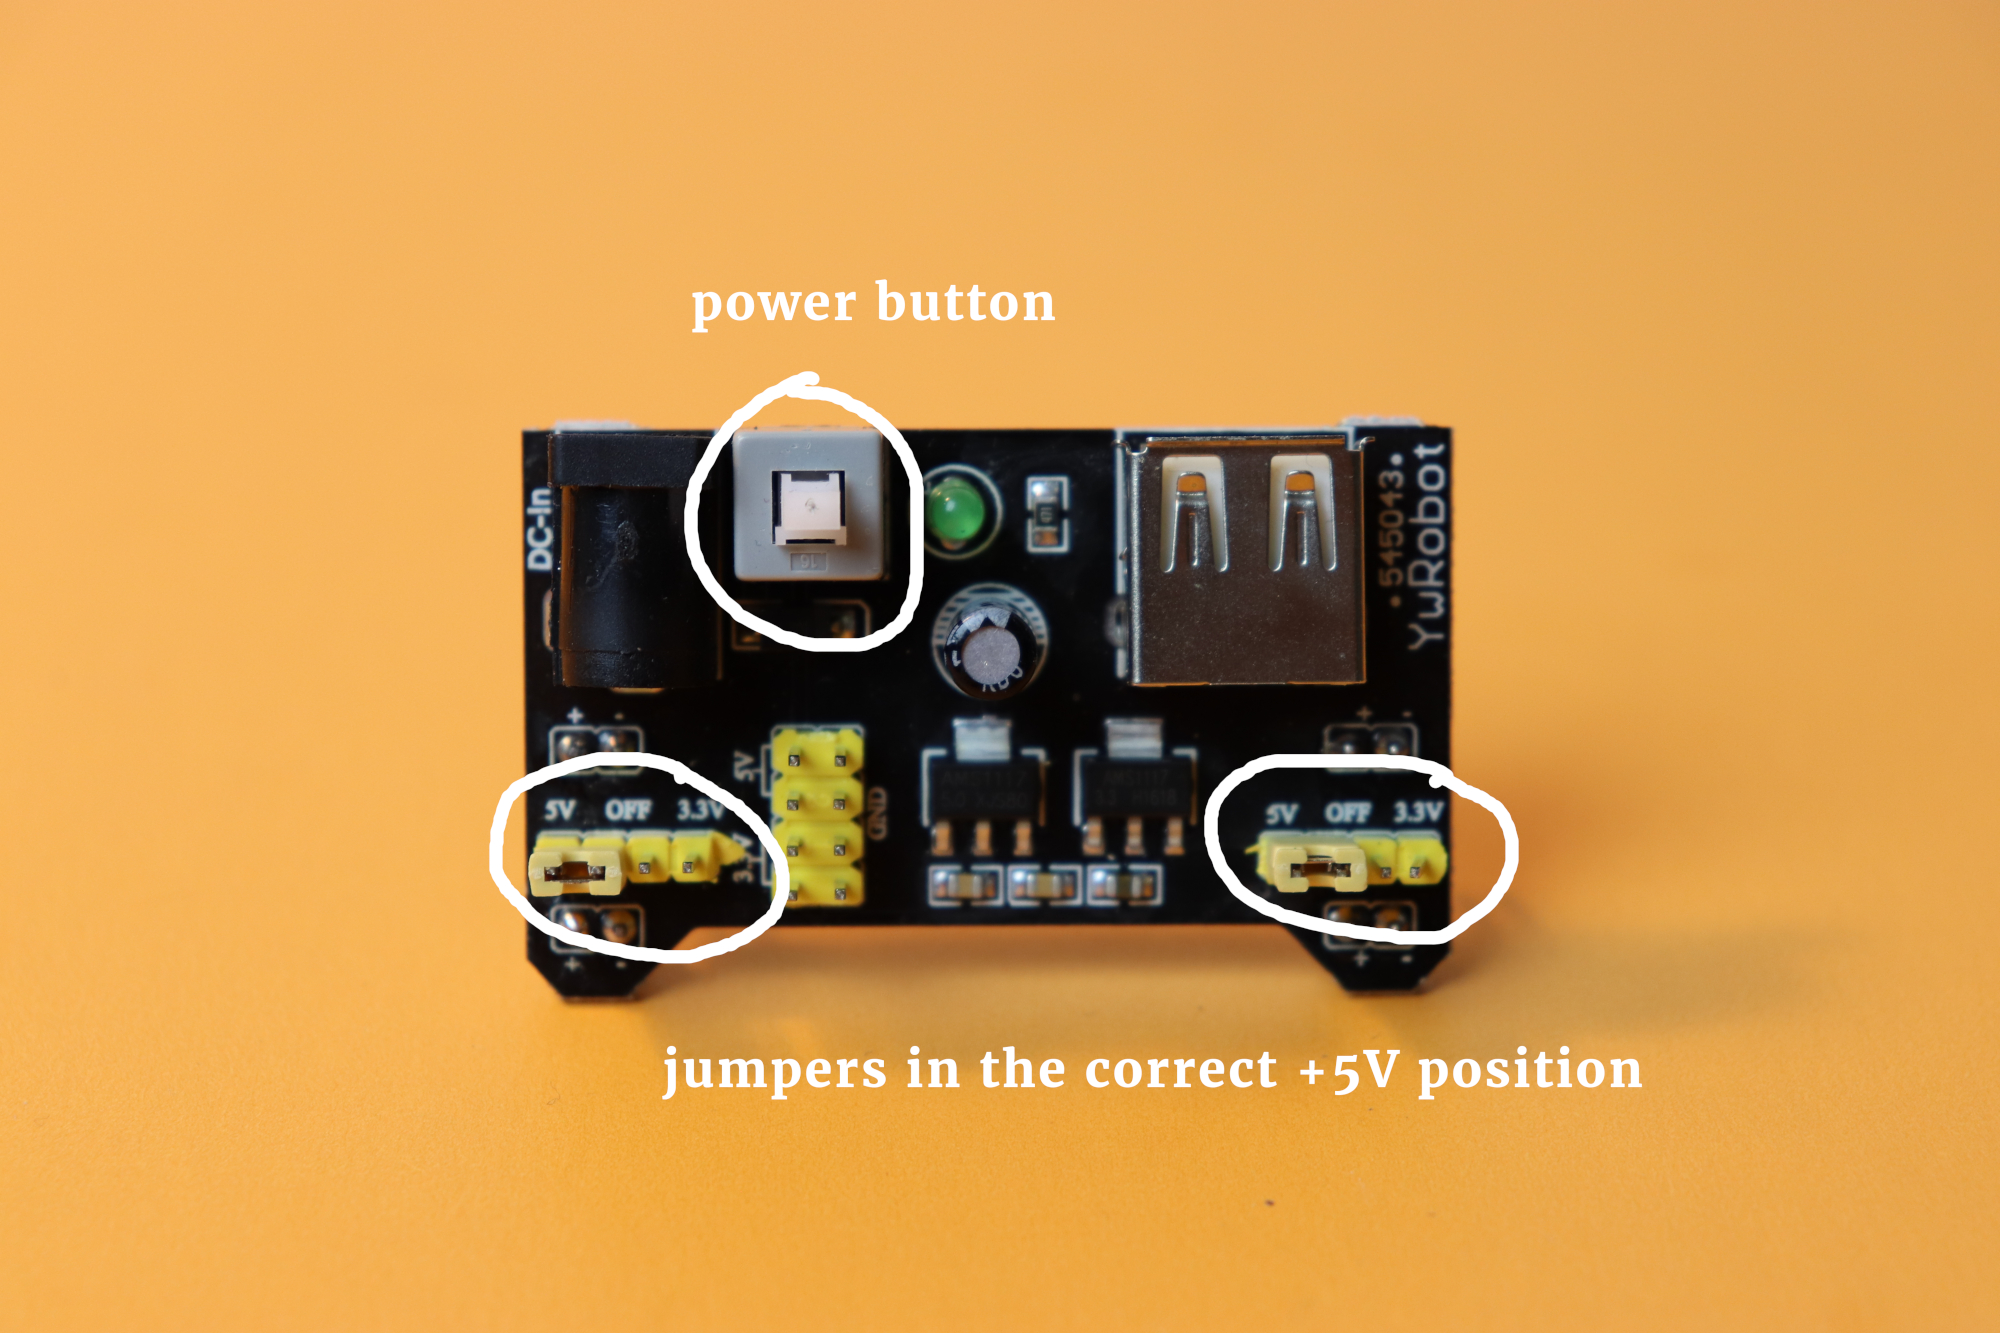
They are fairly inexpensive if you buy them in sets of 3 or 6, and they plug right into the breadboard. They have jumpers on them that allow a selection of the operating voltage for the left and the right rail. In the above picture both rails are set to the 5V configuration, but you can move the jumpers around to the 3.3V configuration as well. In the third jumper position (in the middle), you can also turn a rail off if you want to use it for something else. Keep in mind, though, that the ground rail is still connected to the ground pontential in this case.
The other alternative lies in using a battery pack like these ones here:
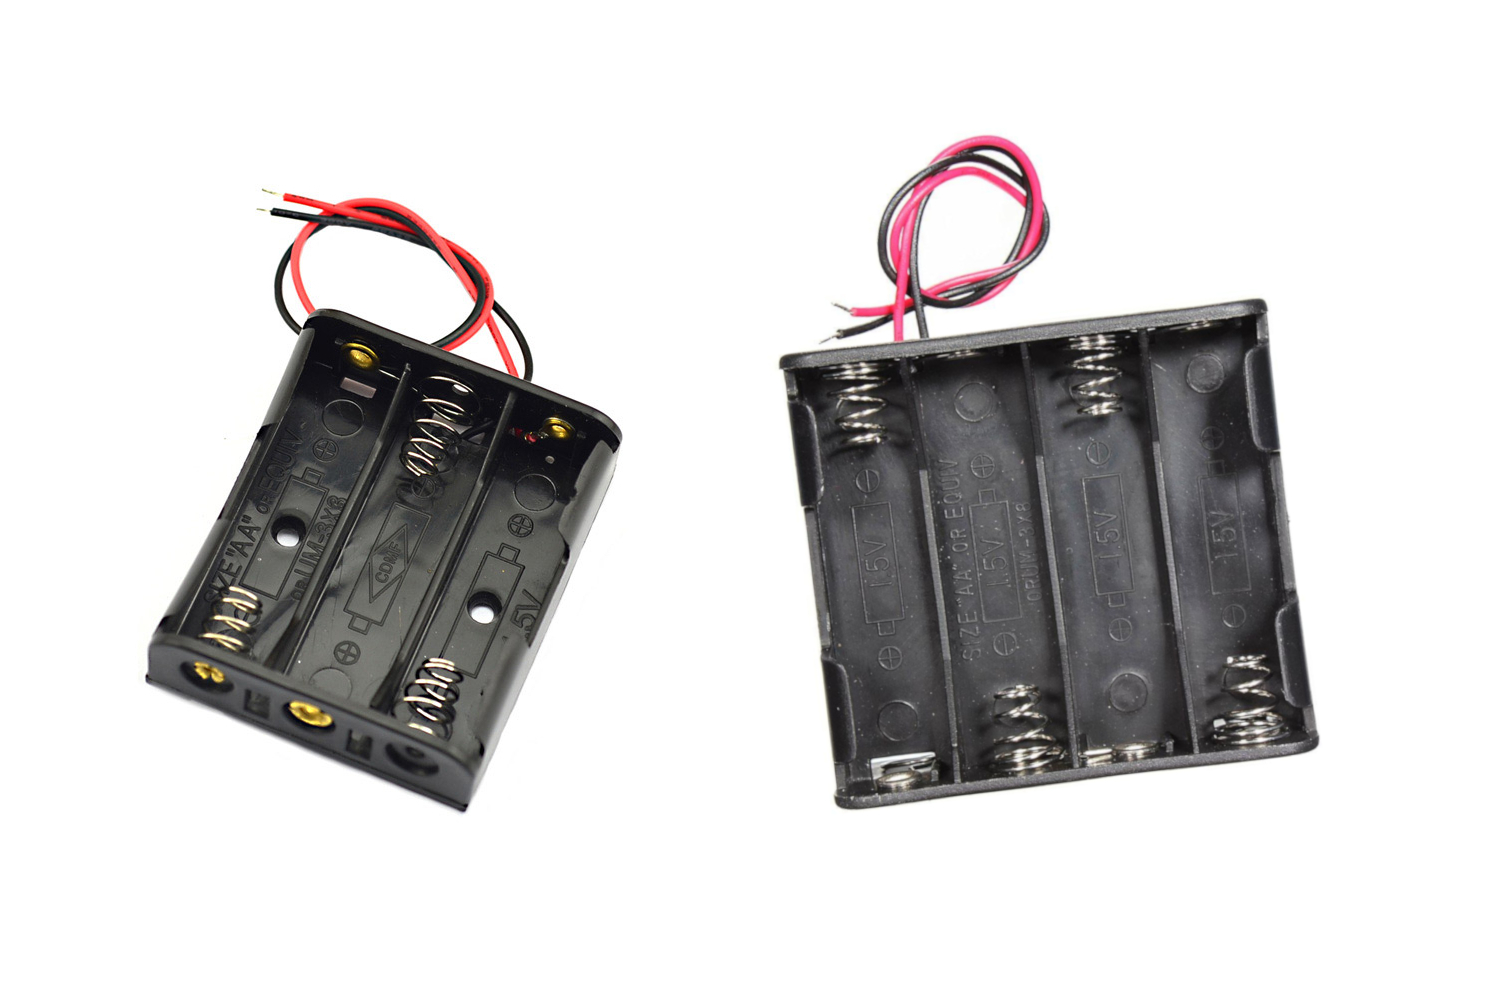
There are two important things to keep in mind:
- This is not a good idea for microcontroller circuits because they need either 3.3V or 5V to work properly. These battery packs, on the other hand, supply voltages in multiples of 1.5V (which is the nominal voltage of an AA battery cell). The left one outputs 4.5V, and the right one outputs 6V. Both are not good for a 5V microcontroller, so keep it in mind :)
- Often thee battery packs come with stranded wire, as you can see in the above picture. Twist the wires together in that case to make each wire a bit more sturdy. It will be a bit of a struggle to get these wires into their holes, but it can certainly be done. Another alternative is to use a bit of solder to convert the stranded wire into a solid wire. But the whole point of breadboards is that you don't necessarily needa soldering iron, so maybe that is not very helpful.
Where does the name come from?
I always wondered where the name breadboard actually originates from. According to a YouTube video by the Science Buddies, people actually used to mount hardware on a breadboard and wire it up. Here you can see an artist's impression of that process:
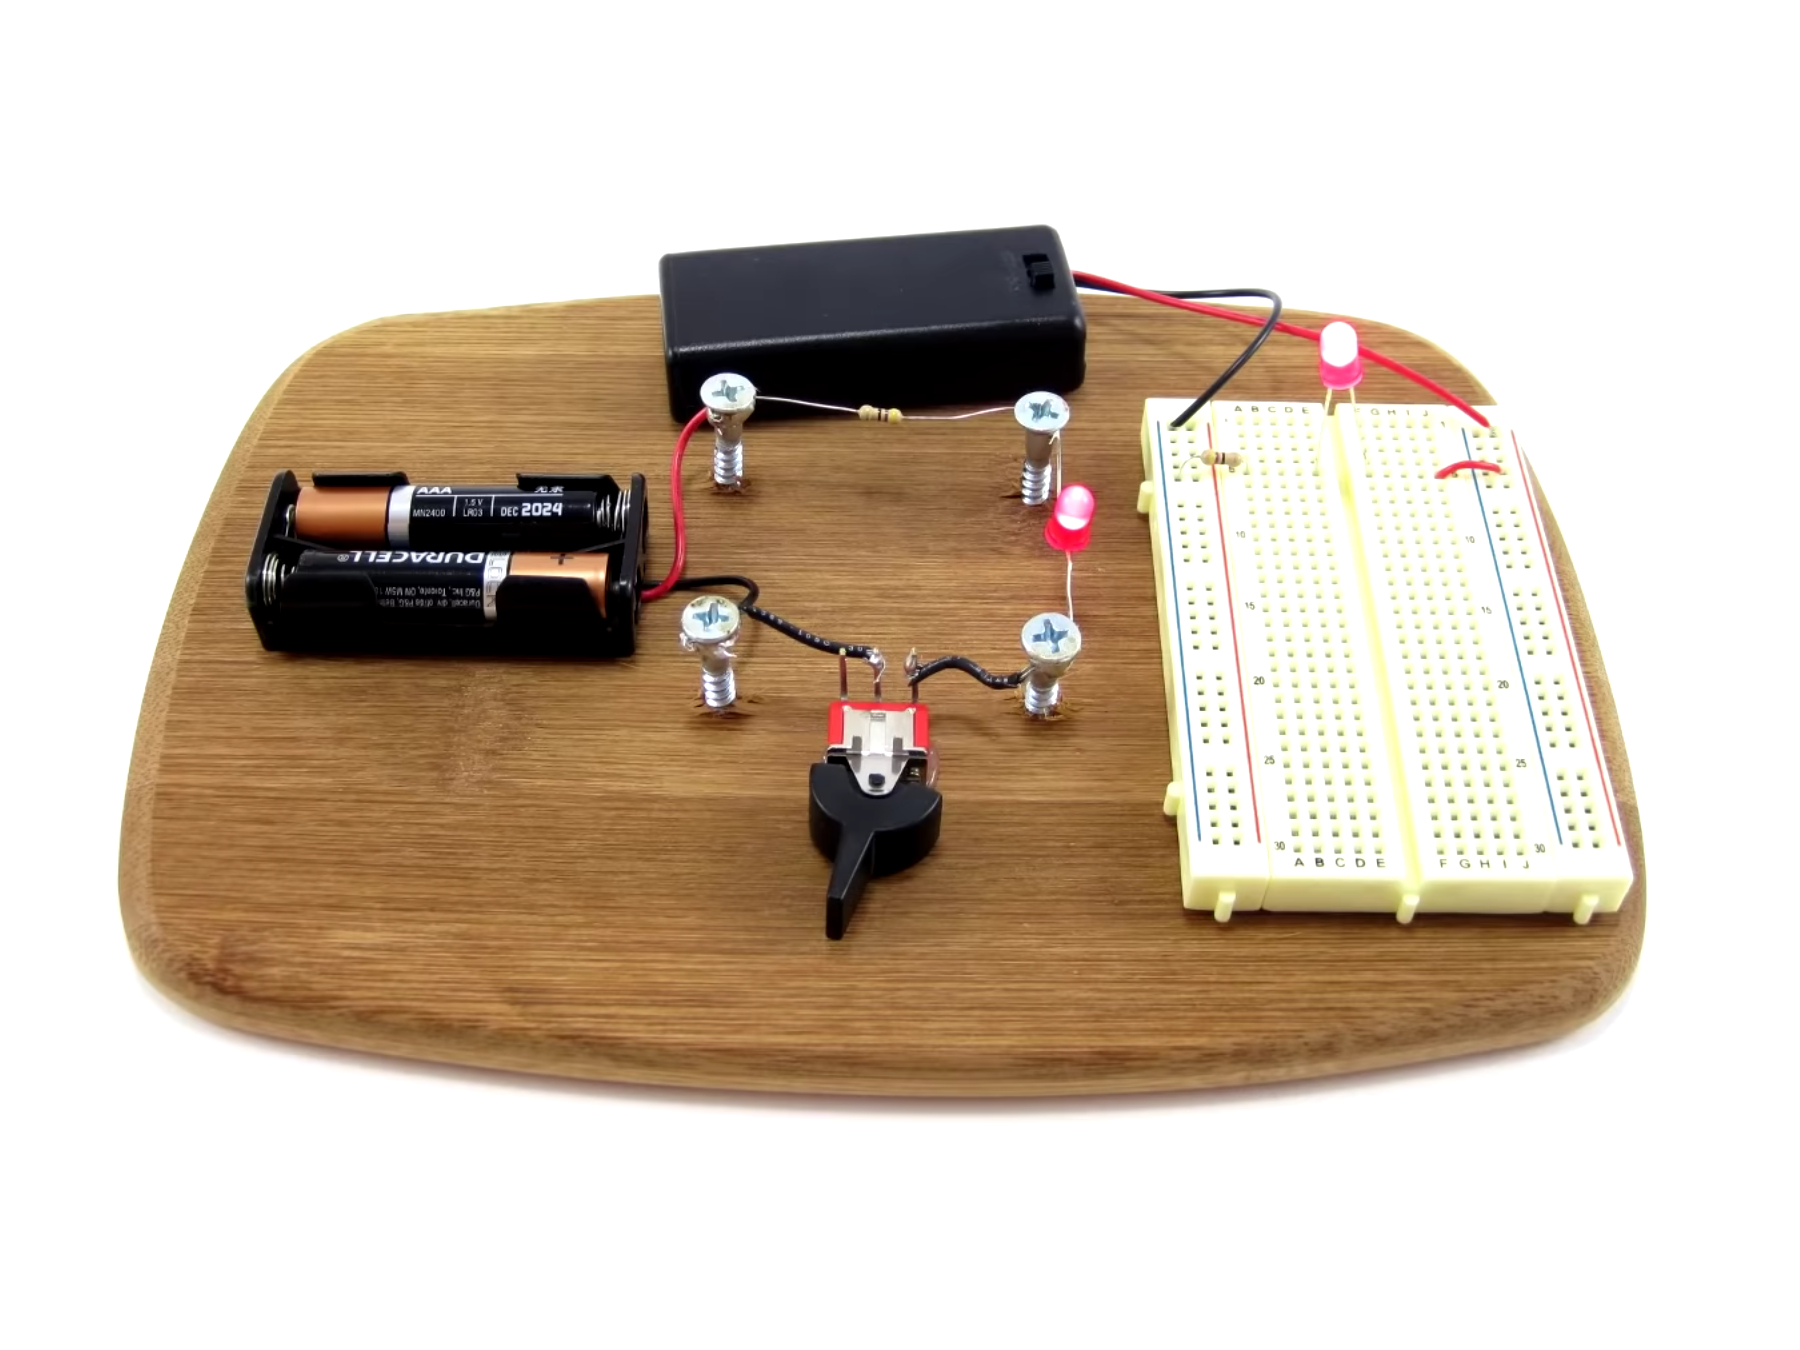 An recreated breadboard circuit, in the original sense, next to a contemporary breadboard circuit (image credit: Science Buddies).
Many years ago, when I was eleven years old, I actually used aluminum foil inserted into straws as makeshift wires, and I mounted them – you guessed it! – on a breadboard that I had stolen from my mother's kitchen. Sadly I do not have any picture of this first-ever electronics experiment of mine, but I am sure that many of you have made similar experiences :)
Start exploring!

I hope you found this article helpful. But remember, none of this article is actually any good if you don't get out there and make your own mistakes :) Maybe you will find a different way that works well for you, and if you do, please let us know!
Thanks for reading, and until next time!


